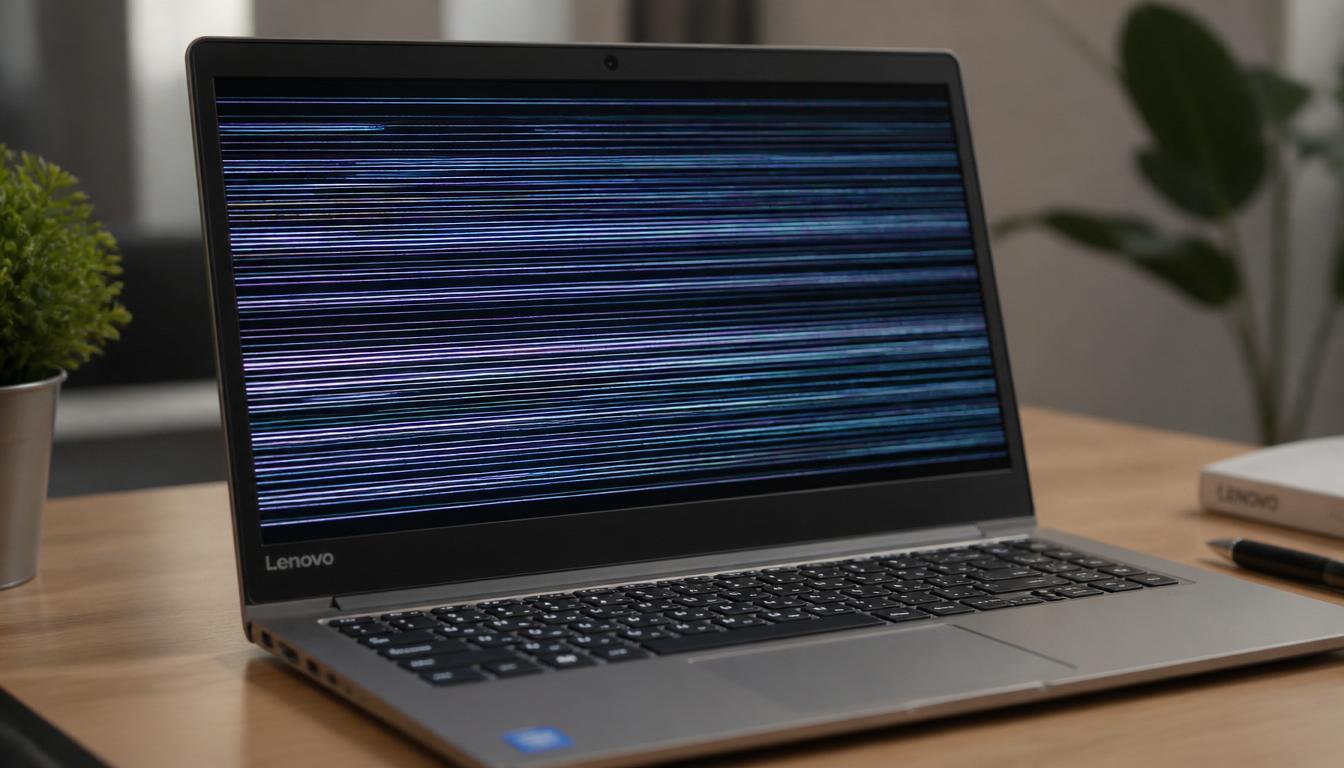
How to Fix Lenovo Laptop Screen Flickering Horizontal Lines…?
Suddenly seeing bright horizontal lines tearing across your display can be alarming. Many users immediately assume the screen is dying and start searching for expensive repairs.
The good news is that experiencing display distortions on your device does not always mean a total hardware failure. In many real-world cases, the problem comes from display timing synchronization faults, graphics driver conflicts, refresh rate issues, or chipset communication errors that can often be fixed at home for free.
Quick Answer
If you notice visual lines disrupting your view, first determine whether the issue appears only inside Windows or also during BIOS startup screens. If the lines appear everywhere, the display panel, ribbon cable, or motherboard hardware may be involved.
If the issue starts only after Windows loads, graphics drivers, dual GPU conflicts, corrupted system files, Panel Self-Refresh settings, or a motherboard chipset software mismatch are often responsible. Running DISM and SFC repairs, disabling power-saving display refreshes, and performing standard graphics adapter updates frequently resolves the problem without replacing hardware.
Common Causes of Horizontal Visual Artifacts on Lenovo Screens
Several hardware and software components work together to generate a stable image. When even one layer loses synchronization, display corruption may appear.
The primary culprits behind these glitches include:
- Graphics processing unit driver crash events
- Corrupted Windows display subsystem services
- Motherboard chipset software mismatch errors
- Damaged or loose internal display ribbon cables
- Physical LCD panel defects or structural pressure damage
- Panel Self-Refresh instability in integrated graphics power setups
- Incorrect integrated display refresh rate settings
- Dynamic switching conflicts between Intel, AMD, and NVIDIA chips
- Outdated or bugged system BIOS firmware
Physical panel stress is not always limited to flickering lines. If you have also noticed a bright, glowing patch anywhere on your Lenovo display, that is a completely separate hardware condition. Read our detailed breakdown of what causes a white spot on a Lenovo laptop screen and how to diagnose whether it is a stuck pixel or structural LCD pressure damage.
Lenovo Display Malfunction: Software Refresh Glitch vs. Hardware Ribbon Fault
| Diagnostic Area | Software Refresh Glitch | Hardware Ribbon Fault |
|---|---|---|
| Appears after Windows loads | Yes | Sometimes |
| Visible inside BIOS | Rare | Very Common |
| Changes after driver update | Often | Rarely |
| Triggered by moving lid | Rare | Very Common |
| External monitor affected | Often | Usually No |
| Recovery without repair | High | Low |
| Repair complexity | Low | Medium |
| Replacement required | Rare | Possible |
How to Fix Lenovo Laptop Screen Flickering Horizontal Lines
This table helps identify the true origin of your display issues before you invest money into professional hardware repairs.
Horizontal lines are just one of several display failures that Lenovo users regularly encounter. For a complete overview of every known Lenovo screen problem — from dead zones and color distortion to backlight failure — our full pillar guide on Lenovo laptop screen problems covers every issue with step-by-step diagnostics in one place.
Resolving Display Glitches Caused by Driver Failures
Most basic guides stop at clicking the standard update button. The reality is that display corruption often starts much deeper inside the graphics communication stack. A graphics processing unit driver crash or registry conflict can easily generate severe screen tearing, temporary blackouts, and flashing horizontal artifacts.
How to Perform a Clean Display Driver Reinstallation
- Press Windows Key + X and select Device Manager from the quick menu.
- Expand the Display Adapters dropdown category to view your graphics hardware.
- Right-click your active display adapter (Intel, AMD, or NVIDIA) and select Uninstall device.
- Ensure you check the box that says “Attempt to remove the driver for this device” and click uninstall.
- Restart your computer immediately to let Windows load its generic basic display configuration.
- Open your web browser, navigate to the official Lenovo support portal, enter your serial number, and download the verified graphics software package for your specific model.
How to Fix Lenovo Laptop Screen Flickering Horizontal Lines
How to Fix Lenovo Laptop Screen Flickering Horizontal Lines
Executing a proper Windows device manager update removes corrupted temporary system layers and resolves many cases of sudden horizontal line flickering.
A corrupted display driver rarely works in isolation — it usually signals that your Windows installation is carrying deeper performance issues as well. If your Lenovo feels generally slow alongside the screen problems, background app overload and bloated startup services are very likely contributing. Our guide on how to fix Windows 11 slow performance and lag walks you through 7 tested fixes that restore system speed without any hardware changes.
Repairing Corrupted Windows System Files
Few repair guides discuss operating system corruption, but display timing services depend heavily on healthy Windows components. If core image files are damaged during a forced shutdown or system update, signal delivery to your screen can lag, forcing the panel to drop lines.
Running Terminal Clean Commands to Restore System Stability
To verify and patch your core system components, execute these precise steps:
- Type cmd into the Windows search bar, right-click Command Prompt, and choose Run as Administrator.
- In the terminal window, type the following deployment image command exactly and press Enter:
dism /online /cleanup-image /restorehealth - Allow the utility to scan, verify, and pull clean file assets from the cloud. This may take several minutes.
- Once completed, type the system file checker command and press Enter:
sfc /scannow - Wait for the verification phase to hit one hundred percent, then restart your laptop.
Many users report rapid improvements after performing these terminal repairs when display distortion is tied closely to operating system corruption.
Adjusting Power Management and Refresh Configurations
Modern laptop screens rely on highly specific timing frequencies. If an incorrect configuration changes how your screen refreshes, visual instability is practically guaranteed.
How to Fix Lenovo Laptop Screen Flickering Horizontal Lines
Disabling Intel Panel Self-Refresh
Modern Intel architectures utilize a feature called Panel Self-Refresh to reduce power usage when the screen image is static. However, this power-saving transition can trigger intense shimmer effects, frame skipping, and horizontal artifacts on certain IdeaPad and ThinkPad panels.
- Right-click an empty space on your desktop and launch the Intel Graphics Command Center.
- Click the System icon on the left panel menu and navigate to the Power tab.
- Locate the Panel Self-Refresh toggle switch under both battery and plugged-in profiles.
- Flip the switch to Disabled for both configurations.
- Save changes and perform a standard system restart.
Disabling this hidden power setting is a highly effective way to eliminate modern laptop screen glitches without tweaking hardware components.
Resetting the Integrated Display Refresh Rate
If a game or external application forces an uncertified frequency on your display, it can break signal stability. To reset this value manually:
- Open your Windows Settings app and choose System, then head into Display.
- Scroll to the bottom and click on Advanced Display.
- Locate the drop-down menu titled “Choose a refresh rate”.
- Select the standard, manufacturer-recommended value (typically 60Hz or the baseline frequency of your specific screen).
- Restart the computer to apply the updated timing configuration.
Ensuring your active profile matches your certified integrated display refresh rate setting stops lines from appearing due to rendering mismatches.
Troubleshooting Dual GPU Switching Conflicts
Performance and gaming laptops regularly implement dual graphics processing architectures consisting of an integrated processor (Intel or AMD) for power saving and a dedicated card (NVIDIA or AMD Radeon) for heavy workloads.
Windows continuously manages shifts between these processors based on active background applications. If a minor driver desynchronization occurs during a handoff, it can cause frame synchronization failures, resulting in sudden flashing bands across the middle of your workspace.
If your display artifacts show up exclusively while loading games, launching professional video editors, or waking your machine from sleep mode, a dual GPU switching conflict is the primary suspect. Updating both chips simultaneously through Lenovo software suites usually straightens out these rendering delays.
How to Fix Lenovo Laptop Screen Flickering Horizontal Lines
Resolving Chipset and Firmware Communication Gaps
Many online troubleshooting guides completely overlook underlying motherboard communication paths. The chipset handles how various internal circuits exchange data streams with the operating system. When a motherboard chipset software mismatch develops after a major Windows update, display synchronization can break down entirely.
Installing Lenovo System Interface Foundation
Lenovo systems rely heavily on a proprietary system communication driver known as the Lenovo System Interface Foundation. This component bridges the gap between your hardware firmware, power profiles, and software wrappers.
- Launch the pre-installed Lenovo Vantage application on your machine.
- Head directly into the System Update module.
- Click the check for updates button to pull data from official servers.
- Look for recommended chipset packages, system interface updates, or critical BIOS revisions.
- Install the components and let your system reboot cleanly.
Utilizing specialized Lenovo hardware component support options ensures all essential controller layers are talking to each other using synchronized, updated protocols.
While you have Lenovo Vantage open for system updates, it is also worth addressing the background software layer on your machine. Lenovo ships its laptops with OEM bloatware that quietly consumes resources and can interfere with display driver stability over time. Our step-by-step guide on using a Windows 11 debloater to safely boost PC speed shows you exactly which processes are safe to remove and which ones to leave alone.
Isolating Internal Hardware and Display Cable Defects
If software-level interventions show zero results, it is time to pivot to targeted hardware isolation tests. A systematic approach ensures you do not spend money replacing a perfectly functional LCD screen when the actual fault lies in a cheap interior connection cable.
The System BIOS Separation Test
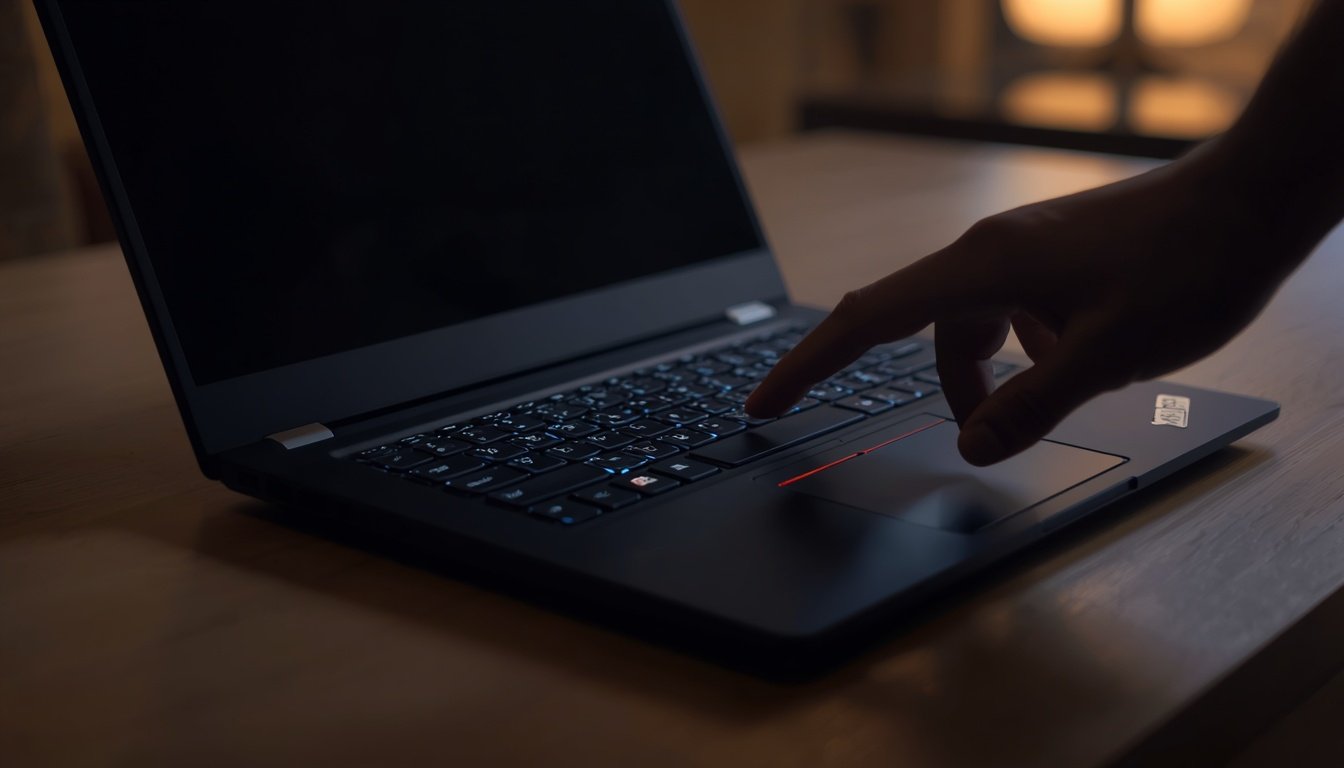
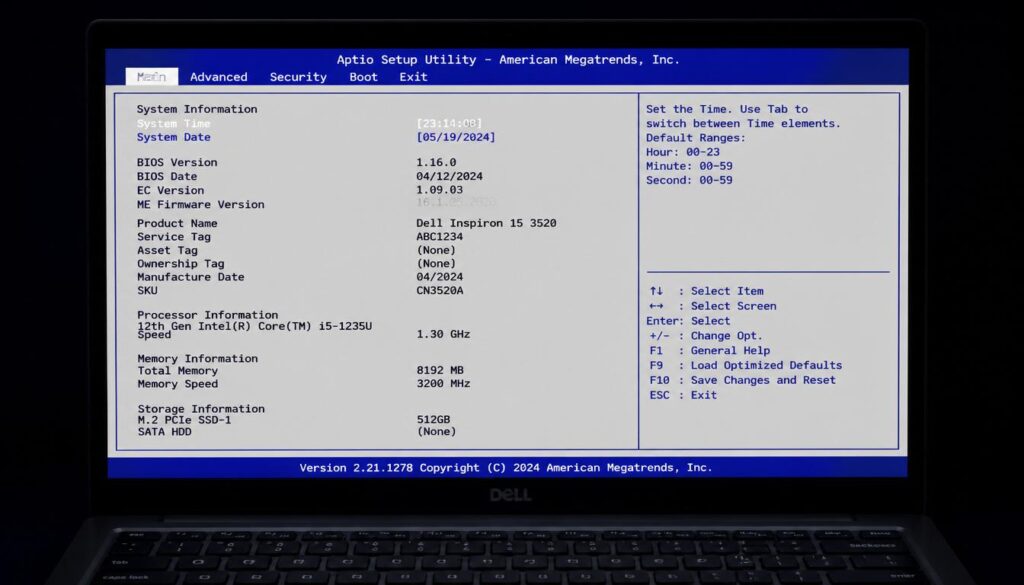
Completely power down your laptop. Press the power button and instantly tap the F2 key repeatedly (or use a pin to press the physical Novo button on the side of the chassis) to access the system BIOS screen.
Analysis: The BIOS operates completely independent of Windows display profiles and graphics drivers. If horizontal lines remain active and visible in this raw firmware environment, your laptop is dealing with a genuine hardware display issue. If the lines completely vanish, a software bug inside Windows is the definitive cause.
The External Monitor Verification
Locate an external monitor or television and connect your laptop using a secure HDMI or USB-C video cable. Toggle your projection settings (Windows Key + P) to duplicate the image.
Analysis: If the horizontal lines appear across both displays simultaneously, your graphics hardware processing unit or motherboard internal circuit is failing. If the external monitor looks perfectly flawless while your laptop screen continues to flicker, the problem is localized strictly inside the laptop display panel or its hinge connection ribbon.
Understanding Display Cable Degradation
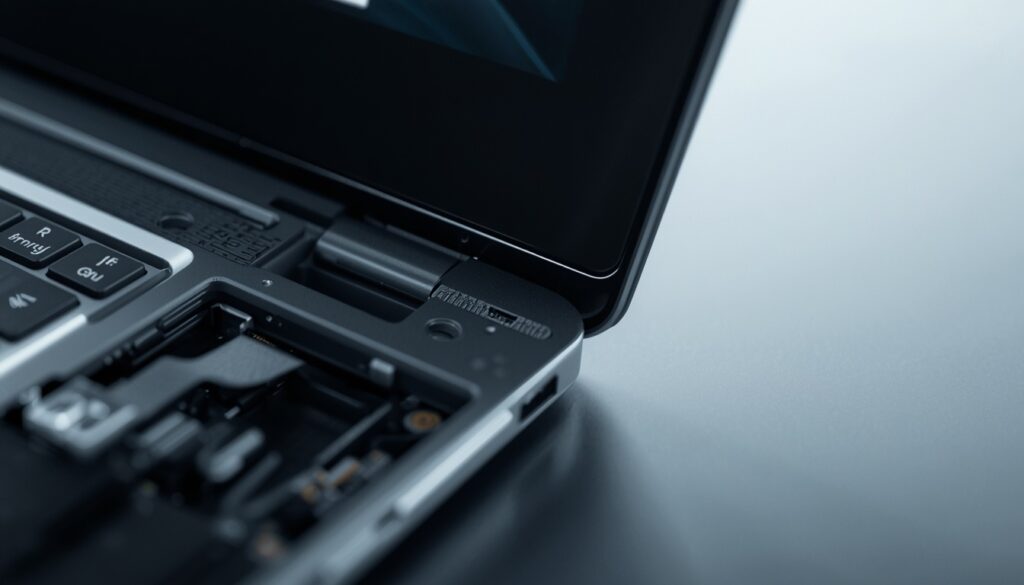
The internal display ribbon cable routes power and video signals directly from the motherboard up through the mechanical hinges into the LCD panel housing. Because this cable flexes and twists every single time you adjust, open, or close your laptop, it experiences extreme physical fatigue.
Over time, the individual micro-wires inside the protective sleeve can experience tiny fractures or become partially loose from their connection slot. Common indicators of cable fatigue include visual flickering that triggers exclusively when you move the laptop lid, image distortion that vanishes at specific viewing angles, and temporary line recovery if you gently tap the hinge casing. In many physical repair scenarios, a basic LVDS panel connector adjustment or ribbon replacement resolves the glitch entirely.
When Does a Total Screen Replacement Become Mandatory?
A display assembly replacement is generally the only viable path forward when your troubleshooting uncovers these severe hardware realities:
- Horizontal colored lines remain persistently visible inside the BIOS screen and do not shift when you move the lid.
- The screen shows physical damage, such as internal cracks, fluid bleeding, or heavy localized pressure bruising.
- An external monitor displays a clean, stable picture, but a full internal cable inspection and reseating step fails to fix the laptop screen.
- The lines grow in number, brightness, or thickness over time due to internal panel degradation.
Proactive Habits to Protect Your Laptop Screen
Incorporate these direct physical handling tips into your technical routine to protect your display panel components over the long term:
- Always open and close your laptop lid from the absolute center rather than grabbing one corner, which applies uneven twisting force to the panel layers.
- Never rest heavy textbooks, smartphones, or power bricks on top of your closed laptop housing.
- Always double-check that no loose items like pens, thumb drives, or charging cables are sitting on the keyboard area before closing the lid.
- When traveling, protect your device inside a dedicated, padded protective sleeve to prevent external compression.
- Keep your cooling channels clear of dust build-up to avoid intense thermal stress on your internal graphics circuitry.
Keeping your Lenovo in good health goes beyond just the display. If you have also experienced network connectivity dropping on the same machine, a corrupted network stack or outdated driver is usually responsible. Our complete troubleshooting guide on fixing a DNS server not responding error on Windows 11 resolves the most common connectivity failures in under ten minutes.
How to Fix Lenovo Laptop Screen Flickering Horizontal Lines??
FAQ
Can horizontal lines on a laptop screen be fixed?
Yes, many cases can be fixed without hardware changes. Most instances stem from basic driver bugs, corrupted operating system components, power configuration errors, or loose connection ribbons. Permanent matrix damage inside the glass panel, however, will require a physical screen replacement.
Why is my Lenovo laptop screen glitching with lines?
The issue is typically triggered by a sudden graphics processing unit driver crash, outdated chipset software, active Panel Self-Refresh bugs, or mechanical degradation of the video ribbon cable passing through the hinge assembly.
Can graphics drivers cause horizontal lines?
Absolutely. A corrupted graphics driver can disrupt the timing intervals sent to your panel. This results in screen tearing, erratic blinking patterns, and horizontal visual artifacts that mimic physical screen breakdown.
Does Lenovo Vantage help fix screen flickering?
Yes, it is highly useful. Running a comprehensive system scan via Lenovo Vantage automatically checks for critical updates, including system firmware modifications, chipset updates, and specialized system foundation assets designed to restore hardware harmony.
Should I replace my laptop screen immediately?
No, you should never jump to conclusions. Always complete software validation scripts, reset your active display frequencies, turn off power-saving panel refreshes, and test your device using an external display before considering a hardware swap.
Why do horizontal lines appear only after Windows starts?
If your screen looks perfectly normal during initial boot animations and inside the BIOS screen, but develops issues after loading your profile, the problem is entirely software-based. It points directly to display driver conflicts, startup software collisions, or uncertified refresh configurations.
Final Diagnosis
When dealing with visual lines on your machine, avoid guessing or rushing into costly repairs. Start with systematic software verification by running clean driver installations, deploying terminal repair scripts, disabling specialized Panel Self-Refresh profiles, and checking basic configuration settings.
If the visual lines survive those software steps, use targeted hardware diagnostics like the BIOS screen test and external monitor mapping to pinpoint the true failure zone. Combining disciplined software repairs with precise hardware tracking allows you to solve screen glitches effectively while protecting your time and hard-earned budget.