How to Fix a Glitchy Chromebook Screen: Step-by-Step Troubleshooting Guide
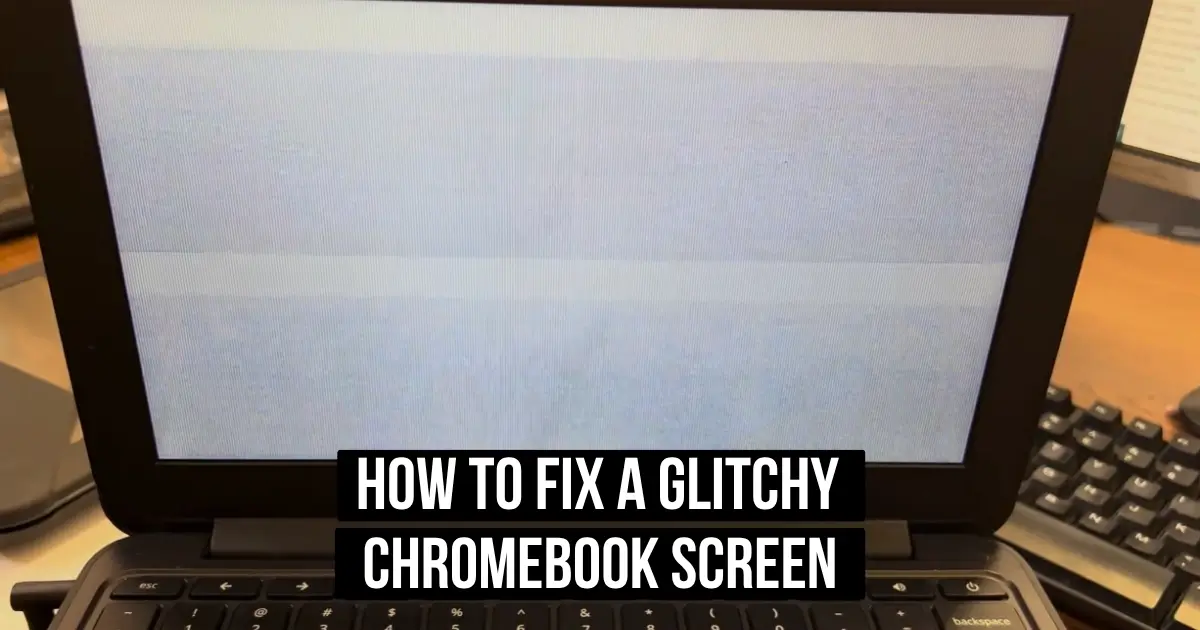
A glitchy Chromebook screen can make normal tasks frustrating. The display may flicker, freeze, turn black, show strange colors, or behave differently when you move the lid.
The good news is that many display problems come from simple software or settings issues. Others can point to a display cable, screen, hinge, or other hardware problem.
If you are wondering how to fix a glitchy chromebook screen, start with the easiest solutions first. Then move toward deeper troubleshooting if the problem continues.
How to Fix a Glitchy Chromebook Screen Quickly
Before changing advanced settings, try these quick fixes:
- Restart your Chromebook.
- Check the brightness and display settings.
- Turn off Night Light and other display effects.
- Reset Chrome flags to their defaults.
- Install any available ChromeOS updates.
- Disconnect USB devices and other accessories.
- Test the Chromebook in Guest Mode.
- Connect an external monitor if the problem continues.
These steps can help separate a temporary software problem from a possible hardware fault.
If the screen still glitches after these checks, continue with the detailed troubleshooting process below.
Why Is My Chromebook Screen Glitching?
A Chromebook screen can glitch for several different reasons. The symptom itself does not always identify the exact cause.
Common possibilities include:
- An outdated ChromeOS version
- Incorrect display settings
- Night Light or color-related settings
- Experimental Chrome flags
- A problematic browser extension
- A misbehaving app
- USB or external accessories
- Magnetic interference on some Chromebook models
- A temporary ChromeOS problem
- A damaged display
- A loose or damaged display cable
- Hinge-related damage
- Other internal hardware problems
For example, screen flickering that continues after a Powerwash and ChromeOS recovery may point more strongly toward hardware. Google Chromebook community reports also describe cases where the screen or display cable was suspected after software troubleshooting failed.
That is why the best approach is to troubleshoot from the simplest possibility to the most serious one.
Here you can also read the How to Delete Chrome Extensions In 60 Sec Every Device(2026).
How Do I Fix a Glitching Screen on a Chromebook?
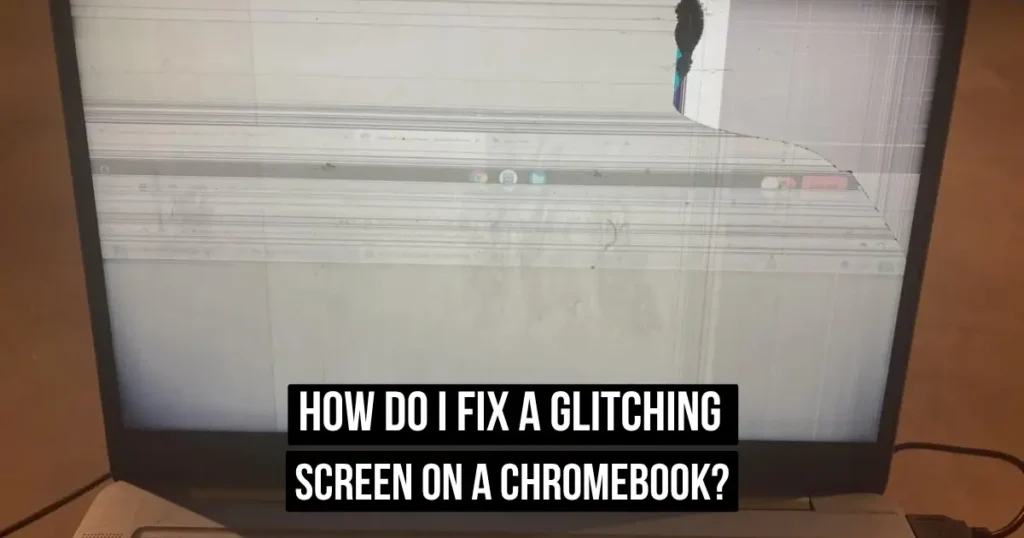
Follow these steps in order. Test the screen after each step.
1. Restart Your Chromebook
Start with a normal restart.
Save anything important, close your apps, and restart the Chromebook. A restart can clear temporary system problems that affect the display.
After the Chromebook starts again, check whether the flickering, freezing, black screen, or color problem is gone.
If the issue returns, continue to the next step.
2. Check Brightness and Display Settings
A display that looks glitchy may actually have an incorrect display setting.
Open the Chromebook settings and check the display options.
Look for settings related to:
- Brightness
- Resolution
- Display size
- Orientation
- Night Light
- Color settings
- Magnification
- Accessibility display effects
If the screen looks unusually yellow or warm, check Night Light first.
If everything appears too large or too small, check the display size instead of assuming the screen itself is damaged.
ChromeOS provides display and accessibility controls through its Settings interface.
3. Turn Off Night Light and Display Effects
Night Light changes the color temperature of the screen. Other display or accessibility settings can also change how the display looks.
Temporarily turn off Night Light and any unusual color-related settings.
Then check the screen again.
This is especially useful when the display is:
- Changing colors
- Becoming yellow or warm
- Looking unusually dim
- Shifting between brightness levels
- Flickering without completely turning off
Chromebook community troubleshooting reports have also suggested checking Night Light and related display settings when the problem involves color changes or flickering.
4. Reset Chrome Flags
Experimental Chrome flags can change browser and system behavior.
If you have recently enabled a flag, return Chrome flags to their default settings.
Open:
chrome://flags
Use the option to reset the flags to their defaults.
Then restart Chrome or your Chromebook and test the display again.
Do not randomly enable flags while troubleshooting. Experimental settings can introduce new problems and make diagnosis harder.
5. Update ChromeOS
An outdated ChromeOS version can cause compatibility and stability problems.
To check for updates, open:
Settings → About ChromeOS → Check for updates
Install any available update and restart the Chromebook afterward.
If the problem started immediately after an update, make a note of the ChromeOS version. This information can be useful when reporting the issue or contacting the manufacturer.
6. Check Chrome Extensions and Apps
If the screen glitches mainly while using Chrome, an extension or browser setting may be involved.
Try disabling recently installed extensions.
You can also restore Chrome settings to their original defaults. Google says this can reset settings changed by apps or extensions without deleting saved bookmarks or passwords.
After disabling extensions, test the Chromebook again.
If the glitch disappears, enable extensions one at a time. This can help identify the extension causing the problem.
7. Try Guest Mode
Guest Mode is another useful diagnostic test.
Sign out of your normal Chromebook account and choose Browse as Guest.
Then use the Chromebook normally for a few minutes.
If the screen works correctly in Guest Mode but glitches inside your normal account, the problem may be related to your profile, extensions, or settings.
If the same display problem appears in Guest Mode, the issue may be deeper than a single user profile.
8. Disconnect USB Devices and Accessories
Remove unnecessary external devices from the Chromebook.
Disconnect things such as:
- USB hubs
- External drives
- USB adapters
- External keyboards
- Mice
- Printers
- Docks
- External displays
Then restart the Chromebook and test it again.
Also move magnetic accessories away from the Chromebook.
Some Chromebook models use sensors that can react to magnets. A Chromebook community expert has reported cases where magnetic objects near the device could temporarily affect the screen or trigger sleep behavior.
9. Test the Chromebook With an External Monitor
This is one of the most useful diagnostic steps.
Connect the Chromebook to a compatible external display.
Then compare what happens on both screens.
If the external display works normally while the built-in screen continues glitching, the problem may be related to the Chromebook’s internal display path.
Possible areas include the panel, display cable, connector, or hinge area.
If both displays show the same glitch, a ChromeOS, graphics, or broader system problem becomes more plausible.
This test does not prove that a particular component has failed. It simply helps narrow the problem.
Why Does My Chromebook Screen Flicker When I Move the Lid?
If the screen flickers or changes when you move the lid, pay close attention to the hinge area.
A display cable runs through the hinge area on many laptop designs. Repeated stress or physical damage can affect the display connection.
Chromebook community reports have specifically associated persistent flickering with possible screen or display-cable problems, especially after drops or rough handling.
Do not repeatedly move the lid to reproduce the problem.
Instead, note whether the display changes when the lid position changes slightly.
If the problem consistently follows lid movement, software troubleshooting may not be enough. Professional inspection may be appropriate.
What If the Chromebook Screen Is Black?
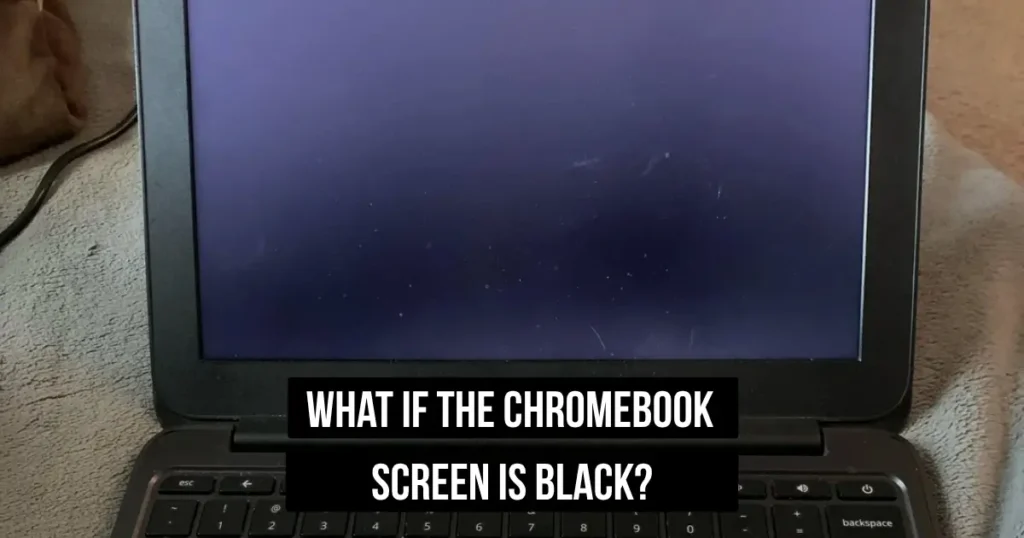
A black screen does not always mean the display is permanently damaged.
First, check whether the Chromebook is still running.
Look for signs such as:
- Keyboard lights
- Charging indicators
- Fan or system activity
- Sound
- Response from the keyboard
Try increasing the brightness.
Then restart the Chromebook.
If the screen remains black, perform a hardware reset using the procedure below.
An external display can also help determine whether the Chromebook is producing a video signal.
Perform a Hardware Reset
If normal restarting does not help, a hardware reset may be the next step.
Google describes this as a way to restart Chromebook hardware such as the keyboard and touchpad. It should generally be attempted after simpler troubleshooting steps.
For most Chromebook laptops:
- Turn off the Chromebook.
- Press and hold the Refresh key.
- Tap the Power button.
- Release the Refresh key when the Chromebook starts.
Some models use different procedures. Chromebook tablets, for example, can use the Volume Up and Power buttons.
A hardware reset is not the same as a Powerwash.
A hardware reset restarts hardware. A Powerwash is a factory reset that removes local user data.
Run Chromebook Diagnostics
ChromeOS includes built-in diagnostic tools that can help identify system problems.
Open:
Settings → About ChromeOS → Diagnostics
Depending on the Chromebook model and ChromeOS version, you may find tests and information related to system components.
Diagnostics can be useful when the screen problem occurs together with:
- System freezes
- Unexpected shutdowns
- Battery problems
- Performance issues
- Repeated crashes
Record any error or unusual result before contacting support.
This information can make professional troubleshooting easier.
Try a Safety Reset Before Powerwashing
If the problem may involve Chrome settings or extensions, a Safety Reset can be a useful middle step.
Google’s Safety Reset disables extensions, resets certain settings, and removes cookies and temporary site data without deleting your local files and apps.
This makes it less destructive than a full Powerwash.
Use it when the Chromebook still works but behaves strangely after browser or settings changes.
After the reset, test the display again.
Powerwash Your Chromebook as a Last Resort
If you are still trying to understand how to fix a glitchy chromebook screen, Powerwash should come much later in the process.
A Powerwash returns the Chromebook to factory settings.
Before using it, back up important local files.
Google specifically warns that a factory reset erases local data, including files stored in the Downloads folder. Files stored in Google Drive or external storage are not deleted by the factory reset.
To start a Powerwash:
- Sign out of the Chromebook.
- Press Ctrl + Alt + Shift + R.
- Select Restart.
- Choose Powerwash.
- Select Continue.
- Follow the instructions on screen.
After setup finishes, test the display before reinstalling extensions and unnecessary apps.
If the screen still glitches on a clean Chromebook installation, software becomes less likely to be the only cause.
Recover ChromeOS if the Problem Continues
ChromeOS Recovery is more advanced than a normal restart or Powerwash.
It reinstalls ChromeOS and can be useful when the operating system itself is seriously damaged.
Google recommends trying simpler troubleshooting steps first. Recovery is generally used after restarting and factory resetting have failed.
Recovery can require another computer or a USB flash drive, depending on the Chromebook and recovery method.
It can also erase local data.
Do not start recovery casually if you have important files that have not been backed up.
How Do I Know if My Chromebook Screen Has a Hardware Problem?
There is no single symptom that proves a hardware failure.
However, several patterns make hardware more likely.
Watch for these signs:
- The screen glitches immediately after startup.
- The problem continues in Guest Mode.
- ChromeOS is fully updated.
- Chrome flags are at their defaults.
- Extensions have been disabled.
- A Powerwash does not help.
- Recovery does not solve the problem.
- The screen changes when the lid moves.
- The display has visible cracks or pressure marks.
- An external monitor works normally while the internal screen does not.
A Chromebook community expert has noted that persistent flickering can be related to the screen or screen cable.
Physical damage is also important. A drop, pressure on the lid, or rough hinge movement can affect the display assembly.
Do not open the Chromebook and attempt internal cable repairs unless you have the required hardware experience.
When Should You Take Your Chromebook to a Repair Technician?
Consider professional help when basic software troubleshooting has failed and the problem continues.
You should especially consider repair if:
- The screen is physically cracked.
- Flickering changes with lid movement.
- The internal display stays black.
- You see persistent lines or distorted areas.
- The problem started after a drop.
- An external monitor works but the internal screen does not.
- Powerwash and recovery do not solve the issue.
If the Chromebook is still under warranty, contact the manufacturer or retailer before opening the device.
For a school or work-managed Chromebook, contact the administrator instead of performing a factory reset yourself. Google’s guidance notes that managed Chromebooks can have restrictions around resetting and recovery.
Frequently Asked Questions
Can a Chromebook screen glitch because of ChromeOS?
Yes. ChromeOS bugs, outdated software, experimental settings, extensions, or corrupted profile settings can contribute to display problems.
Updating ChromeOS and resetting experimental settings are good early troubleshooting steps.
Can an extension cause Chromebook screen problems?
It can. If the issue appears mainly while using Chrome, disable extensions and test again.
Guest Mode can also help determine whether your normal profile is involved.
Is Powerwash the same as a hardware reset?
No.
A hardware reset restarts Chromebook hardware. Powerwash performs a factory reset and removes local user data.
Always back up important files before using Powerwash.
Why is my Chromebook screen flickering but the computer still works?
The Chromebook may have a display-specific problem, a software setting issue, or a hardware problem.
Check display settings, update ChromeOS, reset Chrome flags, and test an external monitor before assuming the screen needs replacement.
Can magnets make a Chromebook screen glitch?
On some models, magnets can interact with sensors used for lid or sleep detection.
Move magnetic accessories away from the Chromebook and check whether the behavior changes.
How to make a Chromebook less glitchy?
Keep ChromeOS updated, remove unnecessary extensions, avoid experimental settings, keep storage under control, and disconnect faulty accessories.
If the entire system frequently freezes or crashes, use ChromeOS Diagnostics and continue with deeper troubleshooting.
How to Prevent Chromebook Screen Problems in the Future
Once you know how to fix a glitchy chromebook screen, prevention becomes easier.
Follow these habits:
- Keep ChromeOS updated.
- Avoid unnecessary Chrome flags.
- Install extensions carefully.
- Keep the screen and keyboard area clean.
- Avoid putting pressure on the Chromebook lid.
- Handle the hinge gently.
- Keep magnets away from the device.
- Use compatible chargers and accessories.
- Back up important local files.
- Avoid running unnecessary apps and browser tabs.
- Check problems early instead of ignoring repeated glitches.
If you are planning to change what your Chromebook can do, make sure you understand the system changes first. For example, Smart Tech Fixer’s guides on installing Linux on a Chromebook and getting Windows on a Chromebook cover more advanced Chromebook modifications.
Final Troubleshooting Checklist
If you need a quick answer to how to fix a glitchy chromebook screen, work through this checklist:
- Restart the Chromebook.
- Check brightness and display settings.
- Turn off Night Light and unusual display effects.
- Reset Chrome flags.
- Update ChromeOS.
- Disable extensions.
- Test Guest Mode.
- Disconnect USB devices and accessories.
- Remove nearby magnetic objects.
- Test an external monitor.
- Perform a hardware reset.
- Run Chromebook Diagnostics.
- Try Safety Reset.
- Back up your files before Powerwash.
- Use Powerwash only when necessary.
- Consider ChromeOS Recovery if serious software problems remain.
- Contact the manufacturer or a qualified technician if hardware damage is suspected.
The key is to avoid jumping straight to a factory reset. Start with simple checks, isolate the cause, and move toward advanced recovery only when necessary.
That approach gives you the best chance of fixing the problem without unnecessarily deleting your files or changing working Chromebook settings.